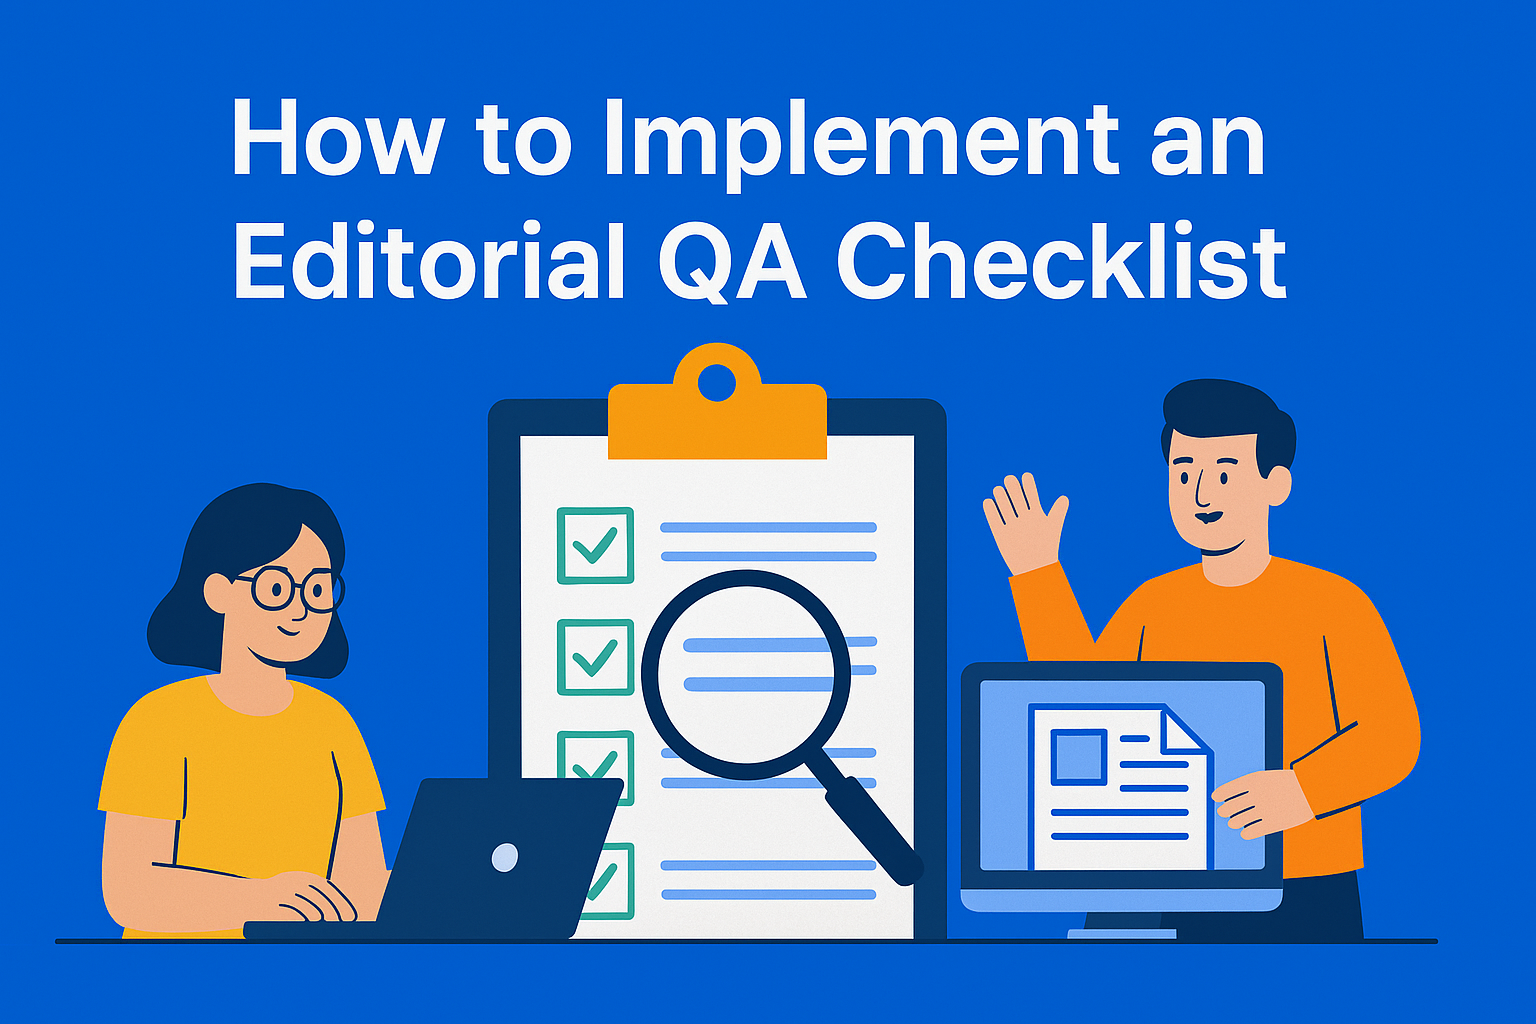
How to Implement an Editorial QA Checklist (Before Publishing)
Learn how to create and use an editorial QA checklist to improve your content quality before publishing. Catch mistakes, boost SEO, and make every post look professional and polished.

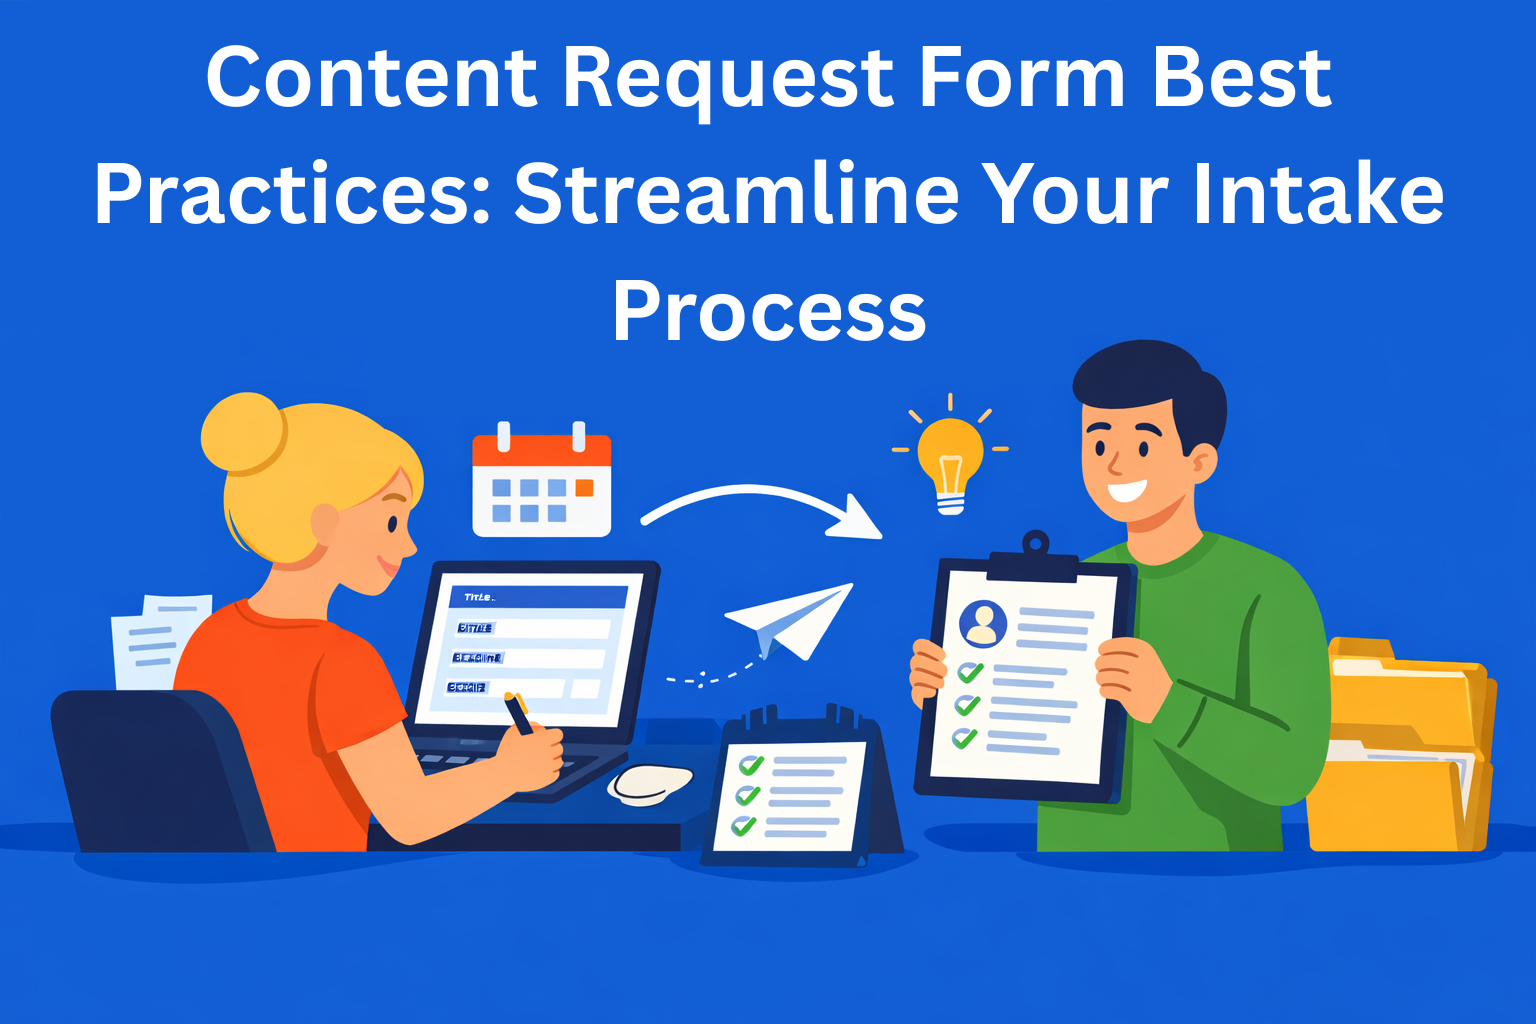
We all know how important it is for the content we publish to look professional and accurate. Whether you’re writing a blog, a guide, or a website post, every sentence leaves an impression about your brand. That’s why before you click Publish, it’s worth going through one important phase that is often skipped - the editorial QA checklist.
This list serves as your final quality control. It helps you catch small mistakes, verify the accuracy of your information, and make sure your text looks clean and professional. In this blog, we will show you how to create and apply a QA checklist step by step, without overcomplicating things.
Key Takeaways
- Accuracy is non-negotiable - Always fact-check stats, names, and sources to build and maintain trust with your audience.
- Structure drives clarity - Short paragraphs, proper headings, and consistent formatting make content readable and professional.
- Checklists ensure consistency - A well-defined editorial QA checklist prevents errors, improves SEO, and reinforces brand voice.
- Assign clear QA ownership - Make quality everyone’s responsibility with defined roles and repeatable workflows.
- Automation supports, humans decide - Use tools like Grammarly and SurferSEO, but never skip the human final review.
What Exactly Is an Editorial QA Checklist?
An editorial QA checklist is a list of tasks you use to check the quality of your content before publishing. It’s a system that prevents a text with errors, poor formatting, or inaccurate information from going live.
The difference between a QA checklist and regular editing is in the approach. While an editor might check the tone and style, a QA checklist goes further - it reviews SEO, visual layout, links, images, and even whether your sources are correct.
The main benefits are:
- Fewer mistakes in published content
- Consistent tone and style
- Better SEO optimization
- A more professional impression on readers
Key Elements of a Good QA Checklist
A good QA checklist should cover every area that affects the quality of your content. Here are the most important parts to include:
1. Accuracy of Information
Check all facts, dates, names, and sources. Nothing destroys trust faster than inaccurate information. If you use statistics or quotes, make sure they come from reliable and up-to-date sources.
2. Grammar and Style
Go through the text carefully and check grammar, spelling, and punctuation. Tools like Grammarly or LanguageTool can help, but don’t rely on them entirely. Also, make sure the tone of writing fits your brand and audience.
3. Formatting and Structure
Good content must be easy to read. Use short paragraphs, subheadings, and lists. Check that your headings are structured correctly (H1, H2, H3) and that all images are inserted properly.
4. SEO Optimization
If you want people to find your text more easily on Google, pay attention to SEO. Use keywords naturally, write a short meta description, and check that all links are correctly added. Good SEO helps your text reach more readers.
5. Brand Consistency
Make sure your text sounds like it comes from the same brand. Using consistent terms, tone, and style always builds trust and recognition.
6. Accessibility
Don’t forget that your text should be accessible to everyone. Add ALT text to images, use simple language, and make sure the layout works well on mobile devices.
7. Source and Link Verification
Click every link. Make sure all of them lead to the right pages and none are broken. If you use external sources, verify they are still relevant.
How to Apply a QA Checklist in Your Workflow
Now that you know what to include, it’s time to see how to use it.
Step 1: Create a Basic Checklist
Start with a simple table in Google Sheets, EasyContent, or Asana. Write down all the steps you need to check - from grammar to SEO optimization.
Step 2: Adjust It by Content Type
A blog post and a newsletter don’t have the same requirements. Create versions of your checklist for different content types. This saves time and makes your process more efficient.
Step 3: Assign Responsibilities
If you work in a team, clearly assign roles. For example: the writer checks tone and style, the SEO specialist reviews keywords, and the editor handles formatting. This turns the QA process into a team effort.
Step 4: Include the QA Phase in Your Workflow
Don’t leave QA for the very end. Make it a regular phase before publishing. For example, if you use a tool like EasyContent, you can build a workflow with stages like writing, editing, QA review, and then publishing.
Step 5: Use Automation Tools
There are tools that make your life easier. Grammarly for grammar, Hemingway App for readability, and SurferSEO or Clearscope for SEO optimization. They won’t do the job for you, but they’re a great help.
Step 6: Review the Checklist Regularly
Over time, you’ll discover new needs. You might want to add a section for accessibility or more SEO factors. Update your checklist every few months.
Example of a QA Checklist
- Grammar and style checked
- Headings and subheadings properly formatted
- Keywords naturally included
- Meta description written
- Links verified
- Images optimized
- Final review completed
Common Mistakes to Avoid
Even with a good QA checklist, it’s easy to make mistakes. Here are a few to avoid:
- Relying too much on tools. Tools like Grammarly or SEO analyzers can help find errors, but they can’t replace a human. They don’t always catch the meaning of a sentence, tone, or context, so always review your text yourself before publishing.
- No one is assigned for QA. If no one is responsible for checking content quality, this step often gets skipped. Always assign someone to handle the final review.
- Ignoring brand guidelines. If each text sounds different (one formal, another casual), readers can get confused. Always use the same tone and style that matches your brand.
- Forgetting about mobile view. Most people read on their phones today. Make sure your content looks good and is easy to read on smaller screens.
Tools and Templates You Can Use
Here are a few useful solutions you can start using right away:
- Google Docs: Use comments and checklists directly inside the document.
- EasyContent: Create a custom workflow and add a step for QA.
- Trello or EasyContent: Great for assigning tasks and visually tracking QA stages.
- Grammarly / Hemingway App: For quick language checks.
- SurferSEO / Clearscope: For SEO keyword optimization.
If you want to speed up the process, you can create your own QA template that everyone on your team uses. This ensures consistency in every piece of content.
Conclusion
Implementing an editorial QA checklist doesn’t have to be complicated. It’s a simple system that prevents mistakes and makes your content look professional. Whether you work alone or in a team, this list helps you stay in control of quality and build trust with your audience.
Every published piece of content speaks for you. So before you click Publish, ask yourself: is everything checked? If you have your QA checklist, you’ll know it is.